CentOS7.9にApacheをインストールする方法
本記事の位置を確認します。
①CentOSにApacheをインストール 👈本記事はここ
②CentOSにPHPをインストール
③CentOSにMariaDBをインストール
④CentOSにWordpressをインストール
環境
OS:CentOS7.9
Apacheのインストール
下記のコマンドを実行します。
yum -y install httpd
下記のようになります。
[root@ホスト名 ~]# yum -y install httpd
Loaded plugins: fastestmirror
Loading mirror speeds from cached hostfile
extras: ftp.jaist.ac.jp
updates: ftp.jaist.ac.jp
Resolving Dependencies
--> Running transaction check
---> Package httpd.x86_64 0:2.4.6-97.el7.centos.5 will be installed
--> Processing Dependency: httpd-tools = 2.4.6-97.el7.centos.5 for package: httpd-2.4.6-97.el7.centos.5.x86_64
--> Processing Dependency: /etc/mime.types for package: httpd-2.4.6-97.el7.centos.5.x86_64
--> Processing Dependency: libaprutil-1.so.0()(64bit) for package: httpd-2.4.6-97.el7.centos.5.x86_64
--> Processing Dependency: libapr-1.so.0()(64bit) for package: httpd-2.4.6-97.el7.centos.5.x86_64
--> Running transaction check
---> Package apr.x86_64 0:1.4.8-7.el7 will be installed
---> Package apr-util.x86_64 0:1.5.2-6.el7 will be installed
---> Package httpd-tools.x86_64 0:2.4.6-97.el7.centos.5 will be installed
---> Package mailcap.noarch 0:2.1.41-2.el7 will be installed
--> Finished Dependency Resolution
Package Arch Version Repository Size
Installing:
httpd x86_64 2.4.6-97.el7.centos.5 updates 2.7 M
Installing for dependencies:
apr x86_64 1.4.8-7.el7 base 104 k
apr-util x86_64 1.5.2-6.el7 base 92 k
httpd-tools x86_64 2.4.6-97.el7.centos.5 updates 94 k
mailcap noarch 2.1.41-2.el7 base 31 k
Transaction Summary
Install 1 Package (+4 Dependent packages)
Total download size: 3.0 M
Installed size: 10 M
Downloading packages:
(1/5): mailcap-2.1.41-2.el7.noarch.rpm | 31 kB 00:00:00
(2/5): apr-1.4.8-7.el7.x86_64.rpm | 104 kB 00:00:00
(3/5): httpd-tools-2.4.6-97.el7.centos.5.x86_64.rpm | 94 kB 00:00:00
(4/5): apr-util-1.5.2-6.el7.x86_64.rpm | 92 kB 00:00:00
(5/5): httpd-2.4.6-97.el7.centos.5.x86_64.rpm | 2.7 MB 00:00:00
Total 4.2 MB/s | 3.0 MB 00:00:00
Running transaction check
Running transaction test
Transaction test succeeded
Running transaction
Installing : apr-1.4.8-7.el7.x86_64 1/5
Installing : apr-util-1.5.2-6.el7.x86_64 2/5
Installing : httpd-tools-2.4.6-97.el7.centos.5.x86_64 3/5
Installing : mailcap-2.1.41-2.el7.noarch 4/5
Installing : httpd-2.4.6-97.el7.centos.5.x86_64 5/5
Verifying : apr-1.4.8-7.el7.x86_64 1/5
Verifying : mailcap-2.1.41-2.el7.noarch 2/5
Verifying : httpd-tools-2.4.6-97.el7.centos.5.x86_64 3/5
Verifying : apr-util-1.5.2-6.el7.x86_64 4/5
Verifying : httpd-2.4.6-97.el7.centos.5.x86_64 5/5
Installed:
httpd.x86_64 0:2.4.6-97.el7.centos.5
Dependency Installed:
apr.x86_64 0:1.4.8-7.el7 apr-util.x86_64 0:1.5.2-6.el7 httpd-tools.x86_64 0:2.4.6-97.el7.centos.5
mailcap.noarch 0:2.1.41-2.el7
Complete!
[root@ホスト名 ~]#
Complete!と出れば完了です。
次にサーバー再起動した際に自動的にApacheを起動する設定をしておきましょう。
systemctl start httpd 👈Apacheの起動
systemctl enable httpd 👈Apacheをサーバー起動後に自動で稼働させるコマンド
実行するとこのようになります。
[root@ホスト名 ~]# systemctl enable httpd
Created symlink from /etc/systemd/system/multi-user.target.wants/httpd.service to /usr/lib/systemd/system/httpd.service.
[root@ホスト名 ~]#
成功しているのでこれで、サーバー再起動後に自動でApacheが実行されます。
正常に稼働しているか確認
systemctl status httpd 👈Apacheの稼働状態を確認
実行するとこのようになります。
[root@ホスト名 ~]# systemctl status httpd
● httpd.service - The Apache HTTP Server
Loaded: loaded (/usr/lib/systemd/system/httpd.service; enabled; vendor preset: disabled)
Active: active (running) since Tue 2022-05-03 23:01:19 JST; 1min 30s ago
Docs: man:httpd(8)
man:apachectl(8)
Main PID: 1117 (httpd)
Status: "Total requests: 0; Current requests/sec: 0; Current traffic: 0 B/sec"
CGroup: /system.slice/httpd.service
tq1117 /usr/sbin/httpd -DFOREGROUND
tq1118 /usr/sbin/httpd -DFOREGROUND
tq1119 /usr/sbin/httpd -DFOREGROUND
tq1120 /usr/sbin/httpd -DFOREGROUND
tq1121 /usr/sbin/httpd -DFOREGROUND
mq1122 /usr/sbin/httpd -DFOREGROUND
May 03 23:01:19 ホスト名 systemd[1]: Starting The Apache HTTP Server…
May 03 23:01:19 ホスト名 httpd[1117]: AH00557: httpd: apr_sockaddr_info_get() failed for v…net
May 03 23:01:19 ホスト名 httpd[1117]: AH00558: httpd: Could not reliably determine the ser…age
May 03 23:01:19 ホスト名 systemd[1]: Started The Apache HTTP Server.
Hint: Some lines were ellipsized, use -l to show in full.
[root@ホスト名 ~]#
Active: active ←3行目がactiveになっていれば問題なく稼働しています。
HTTPで起動確認
WEBブラウザ(Microsoft EdgeやGoogle Chromeなどのこと)を開いてURL入力しましょう。
入力して無事に稼働していると下記のような画面になります。
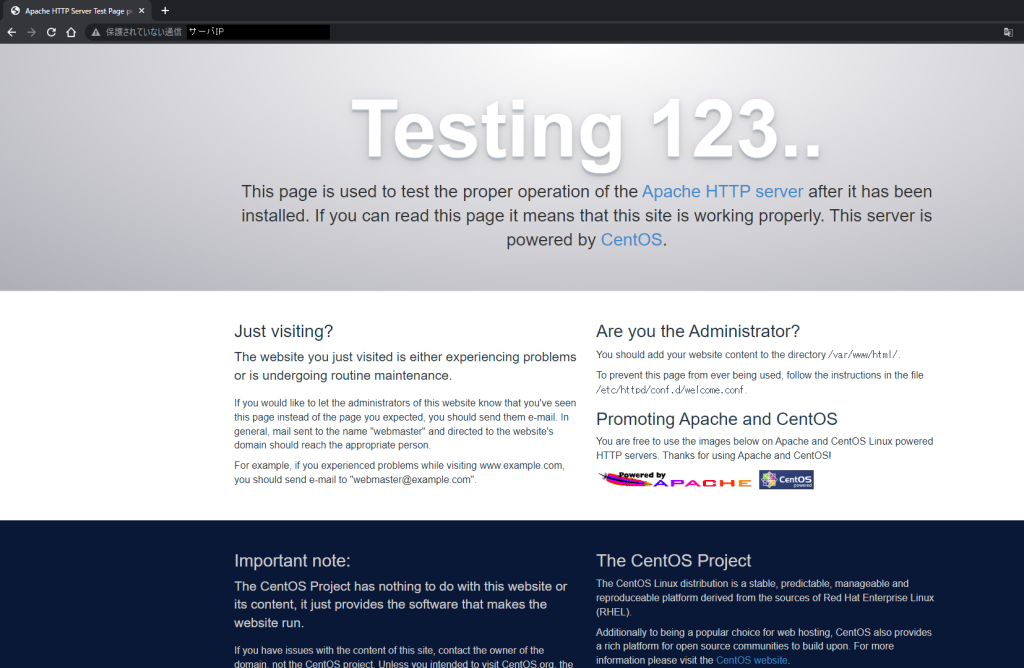
上記画面が出てこない場合、FWが有効化されているので、設定をしましょう。
firewall-cmd --add-service=http --zone=public --permanent 👈httpを許可
firewall-cmd --reload 👈FWを再起動し反映させる
上記で完了です